
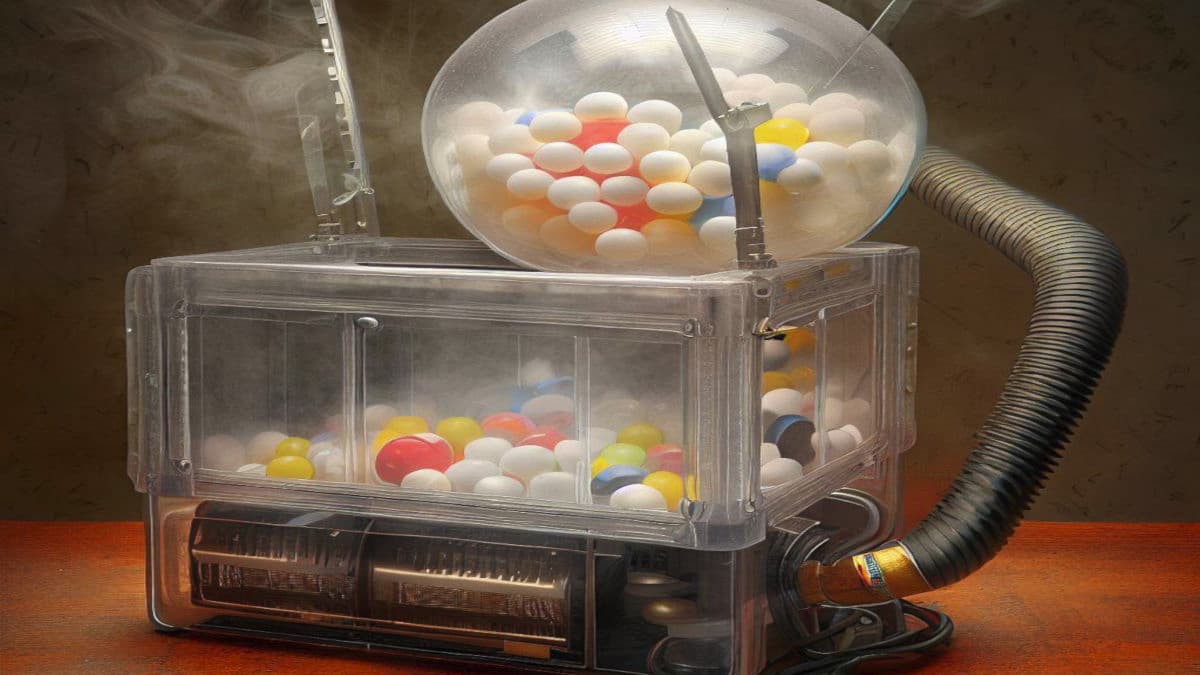
Ever thought about bringing the thrill of the lottery right into your living room? Well, get ready for my fun-filled DIY journey to create your very own lottery ball machine. Warning – this won’t be as pretty as a professional machine. But let’s get started!
Gathering Your Materials
Every great DIY project starts with gathering your materials. For this project, we’re going to keep things simple and use items you can easily find around the house or at your local store. The bigger your budget the more pro this will end up looking.
Here’s what you’ll need:
- A clear plastic container with a lid: This will serve as the main body of our lottery machine. The clear material will allow you to see the balls as they’re being mixed.
- A small electric fan: This will be used to stir up the balls inside the container. A small desk fan or a larger computer fan would work perfectly. It needs plenty of revs though as you need some good air flow.
- A flexible plastic tube: This will serve as the tunnel for our winning ball to shoot out of. A tube from an old vacuum cleaner or a similar item would work well. Bonus points for finding a clear tube though as that’s what they use for the real lottery draws.
- Small lightweight balls: Ping pong balls are a great option as they’re lightweight and can be fairly easily stirred up by the fan.
- A marker: This will be used to number the balls.
- Basic tools: scissors, hot glue gun, and duct tape: These will be used to assemble our machine.
Building Your Lottery Machine: A Step-by-Step Guide
Step 1: Preparing the Balls
First things first, let’s get those balls ready. Use your marker to number each ball. If you’re mimicking a typical Pick 6 lottery, you’ll need balls numbered 0 to 49. If you’re going for a larger lottery, you need even more balls with higher numbers, and possibly a second set of balls if you want to more accurately mimic a Powerball or Mega Millions type draw.
Make sure the numbers are clearly visible and easy to read. I recommend underlining numbers like 6 and 9 so you know for sure which one it is!
Step 2: Setting Up the Fan
Next, we’re going to attach the fan to our container. The fan diameter should be small enough to fit the container but powerful enough to stir up the balls (test first before attaching!). Easy option is to use your hot glue gun to secure the fan to the lid. But you can bolt it or make a mounting plate if you want to make it easier to detach/clean/upgrade.
There’s two basic approaches here. The top fan and the bottom fan.
Attaching the fan to the bottom of your container can give you a lot more ball movement. Which personally I like. But it does mean you also need a grill or mesh to stop the balls falling into the fan and potentially jamming it up. With a desk fan you can probably use the grill of the fan itself. If you’re buying a fan just for this purpose, keep this in mind. A computer fan you may need to use something like chicken wire with narrow holes.
Making a lottery ball machine by using a top fan is much easier to build. You will need a more powerful fan though to really get the balls mixing up well.
Make sure your fan is centered so the air can circulate evenly inside the container.
Step 3: Adding the Tube
Now, let’s add our tube. This will serve as the tunnel for our winning ball to pop out of. Cut a hole in the side of your container, just big enough for your tube. Insert the tube and secure it with duct tape. Make sure the tube is angled slightly so the balls can easily roll out when the fan is turned on. This will probably take some adjusting to get it just right.
TIP: If your tube is not much larger than the balls you might have trouble getting lottery balls out. Try using a plastic funnel. Cut a hole for the larger opening in your container. Trim the funnel at the smaller end to fit your tube.
Step 4: Loading the Balls
It’s time to load up those balls! Place them in the container and secure the lid. Make sure the fan is off before you do this – we don’t want balls flying everywhere just yet!
TIP: If you want a more authentic draw experience, build some lottery ball loading tubes. Ideally clear tubes. But a series of upright tubes attached to the top of your container – like a real lottery draw. With a simple straight piece of wire pushed through small holes drilled through the center of all the tubes. Load the balls. Pull out the wire to drop all the balls at once.
Step 5: Let the Fun Begin!
Now for the exciting part. Turn on the fan, drop your lottery balls and watch as they get stirred up inside the container. The air from the fan will cause the balls to rise and fall, bouncing around creating that random mixing effect. When a ball happens across the tube hole out it rolls. When you have drawn enough balls turn off your fan.
And there you have it – your very own lottery draw!
Tips and Tricks for Your DIY Lottery Machine
Now that you’ve built your machine, here are a few tips and tricks to make your lottery draws even more fun:
Customize Your Machine
Why not give your lottery machine a bit of personality? You could paint the outside, add some decorative stickers, or even attach a small light to illuminate the balls as they’re being mixed.
Create Your Own Lottery Games
Now that you have your machine, you can create your own lottery games. You could mimic popular lottery games like Pick 3 or Pick 4, or come up with your own unique games. The possibilities are endless!
Maintenance
Remember to take care of your machine to ensure it lasts. Clean the inside regularly to prevent dust from building up, and especially around the fan to make sure it keeps working properly.
Wrapping Up
And there you have it, folks! Your very own DIY lottery ball machine. Remember, this is just a fun project and not a professional lottery machine, but it’s a great way to add a little excitement to your next game night. So, get your DIY hat on, and let’s make some magic!
